


A reliable Uav Camera Gimbal can determine whether aerial footage looks professional or merely usable. It affects image stability, framing, payload balance, and operator confidence. The choice matters most when a drone faces wind, vibration, changing light, or repeated inspection routes.
The commercial drone market is expanding beyond hobby filming. Grand View Research reports continued growth in the global commercial drone market, driven by construction, agriculture, energy, and public safety applications. Drone Industry Insights has also identified inspection, mapping, and surveying as leading professional use cases. These findings suggest a practical point: gimbals should be selected for the mission, not for impressive specifications alone.
Small details reveal real performance. A bridge inspector may need smooth three-axis stabilization while the drone hovers beside concrete joints. A survey crew may prioritize camera integration, accurate orientation data, and dependable operation over cinematic movement. Buyers should examine stabilization modes, payload capacity, vibration isolation, control latency, weather resistance, and compatibility with the aircraft’s flight controller. Battery consumption deserves attention too.
Numbers can mislead.
A high-resolution camera cannot repair unstable footage. Similarly, a lightweight gimbal may save battery power but struggle with heavier lenses or wind exposure. The International Civil Aviation Organization emphasizes safe, reliable unmanned aircraft operations, reinforcing the importance of equipment dependability and responsible use. No checklist is perfect. Field testing remains essential, because laboratory specifications rarely capture every rooftop, coastline, or dusty construction site. The following five tips provide a clearer framework for choosing a Uav Camera Gimbal with professional judgment and realistic expectations.
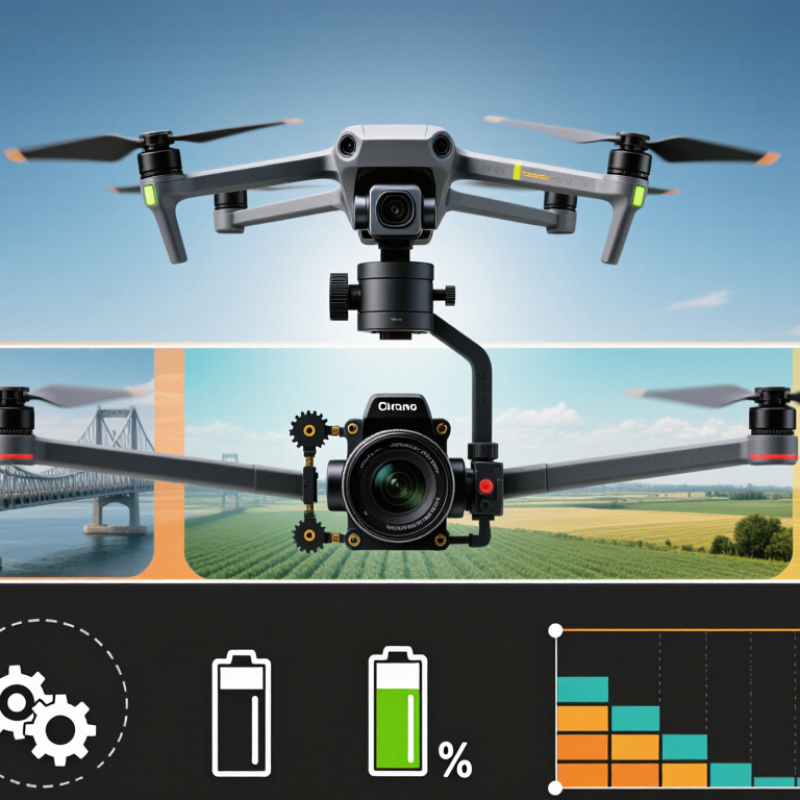
Before choosing a UAV camera gimbal, define the mission in measurable terms. A mapping flight needs stable nadir images, while infrastructure inspection may require angled views and smooth tracking. Write down the target size, flight altitude, route length, expected wind, and usable daylight. These details expose demands that product brochures often hide. If the aircraft must hover beside a tower, vibration control may matter more than extreme optical zoom.
Imaging requirements should guide every mechanical decision. Specify ground sampling distance, frame rate, sensor size, shutter response, and acceptable image blur. A large sensor can improve low-light detail, but it may increase payload weight and power consumption. Thermal or multispectral work also requires accurate alignment between sensors. Ask how calibration will be checked in the field, not only in a laboratory. On one test flight, a perfectly sharp camera still produced weak data because sunlight created glare. That mistake changed the checklist.
Choose a gimbal with enough rotation range for planned viewpoints, plus dependable stabilization during acceleration and braking. Review payload limits, connector compatibility, data storage, and operating temperature. A gimbal that performs well on calm days may drift during coastal gusts. Request repeatable test evidence, such as horizon stability and image sharpness from several flight directions. Keep a small margin for future sensors or heavier protective housings. Perfect specifications are not enough.

Choosing a UAV camera gimbal starts with the flight, not the camera. Match stabilization to wind, speed, altitude, and shooting distance. Keep it practical. During fast forward flight, gusts can create sudden roll and pitch movements. Choose a gimbal with strong three-axis correction and a responsive control system. For slow hovering shots, smoother motion may matter more than rapid reaction. Test both modes before filming.
Check the gimbal’s payload rating carefully. A camera, lens, filter, and cable can exceed the listed weight quickly. Too much weight may cause vibration, slower movement, or unstable landings.
I once treated the payload limit as a target, which was a mistake. Leave a safety margin. Balance the camera physically before powering the system. Small imbalances can produce visible horizon drift.
Consider the shooting condition, too. Low-light scenes often need slower shutter speeds, making vibration more noticeable. A gimbal with precise micro-adjustments can protect image sharpness. In cold or humid conditions, battery performance and calibration may change. Perform a short hover test after takeoff. Watch the horizon, listen for unusual motor noise, and check recorded footage.
Control settings also deserve attention. A gentle follow mode suits landscapes and architectural shots. A faster response may help during tracking or changing flight paths. However, aggressive settings can create jerky movement. Review your footage honestly. The smoothest setting is not always the most useful one. Calibration remains essential, even when the system appears ready.
Choosing the right UAV camera gimbal starts with the camera, lens, and sensor configuration. A stabilized gimbal cannot correct poor image choices. The 2024 Drone Industry Insights report estimates the commercial drone market at more than 30 billion US dollars, showing how quickly professional imaging is expanding. Operators now need measurable performance, not impressive specifications alone.
Tip: Match the sensor to the mission. A larger sensor usually performs better in low light and preserves more detail in shadows. For mapping, a high-resolution RGB sensor can capture fine roof edges and road markings. For inspection, thermal or multispectral sensors may reveal heat loss, moisture, or crop stress. The 2024 Global Market Report from the Association for Uncrewed Vehicle Systems International identifies inspection, agriculture, and public safety among major commercial applications. Yet, more pixels do not always mean better results. Excessive resolution can increase storage, processing time, and vibration sensitivity.
Tip: Select the lens by distance and movement. A wide lens covers more ground but may distort edges. A telephoto lens supports safer standoff distances, although small vibrations become more visible. Test the lens at the intended altitude, not only indoors. This step is often skipped.
Tip: Check sensor size, dynamic range, shutter type, and gimbal payload together. A global shutter can reduce rolling distortion during fast flight. Mechanical compatibility matters too. The gimbal should balance with the camera mounted, including filters and cables. Field tests remain essential because laboratory ratings rarely reflect wind, glare, or sudden exposure changes. Mistakes happen. Record them, then adjust the configuration.
5 Tips to Choose the Right UAV Camera Gimbal
Compatibility comes before image quality. Check the payload limit, mounting pattern, center of gravity, and vibration tolerance. A 300-gram gimbal can destabilize a small aircraft. Measure the camera, lens clearance, and connector positions before ordering. Drone Industry Insights reported that commercial drone applications exceeded 30 billion dollars in market value in 2023. That growth increases demand for modular payloads, but every airframe remains different. A neat specification sheet can still mislead.
Control systems deserve equal attention. Confirm whether the gimbal accepts serial, PWM, Ethernet, or another supported interface. Match command protocols with the flight controller and ground station. Look for independent yaw, pitch, and roll control. Test latency during live movement, not only on a workbench. Remote identification and operational rules may also affect system integration, depending on the operating region. Small delays become visible when tracking a moving vehicle. I have learned this the hard way.
Power requirements often decide flight time. Record voltage range, startup current, continuous draw, and connector polarity. Compare the gimbal’s consumption with the aircraft’s usable battery capacity. The Electric Power Research Institute notes that battery performance changes with temperature, load, and aging. Leave a practical reserve. Do not trust ideal laboratory figures. Also inspect heat buildup near the camera and battery. A cooling fan may solve thermal problems, yet it adds weight and noise. Then consider payload protection, calibration access, spare cables, and service documentation before purchase.
| Tip | Selection Dimension | What to Check | Practical Target or Requirement | Why It Matters |
|---|---|---|---|---|
| 1 | Camera and Payload Compatibility | Confirm the gimbal payload range, mounting pattern, camera dimensions, lens clearance, and total payload center of gravity. | The camera and accessories should remain within the stated payload range, with the combined weight balanced near the gimbal's mounting axis. | An oversized payload can cause motor overheating, poor stabilization, excessive vibration, or shortened operating life. An undersized camera mount may also create mechanical movement during flight. |
| 2 | Stabilization Performance | Review the number of stabilization axes, rated angular accuracy, startup time, vibration isolation, and performance during acceleration or wind exposure. | A three-axis system is generally preferred for professional imaging because it compensates for roll, pitch, and yaw movement. Look for a stabilization accuracy specification expressed in degrees. | A two-axis design may be lighter, but it cannot correct every movement independently. Weak vibration isolation can produce rolling-shutter distortion, soft images, or unstable video. |
| 3 | Control and Communication Systems | Verify compatibility with the flight controller, ground station, remote controller, serial or network interface, camera trigger, and supported control commands. | Confirm the required communication protocol, voltage levels, connector type, telemetry support, remote tilt control, mode switching, and firmware update method before installation. | Mechanical compatibility alone does not guarantee operational compatibility. Mismatched protocols or voltage levels can prevent camera control, interrupt telemetry, or damage electronic components. |
| 4 | Power Requirements and Endurance | Check input voltage, continuous current, peak current, connector polarity, power-conversion requirements, and the effect of the payload on flight time. | The aircraft power system should provide the gimbal's required voltage and peak current with a safety margin. Estimate flight endurance using the complete aircraft payload, not the empty-airframe rating. | Insufficient power can cause resets, motor weakness, or unstable operation. A heavier gimbal and camera also increase energy consumption and may reduce available flight time. |
| 5 | Environmental and Operational Suitability | Evaluate operating temperature, humidity resistance, dust protection, wind tolerance, shock resistance, maintenance needs, and replacement-part availability. | Select an environmental rating appropriate for the mission location and verify that the gimbal remains within its specified operating limits during takeoff, flight, landing, and storage. | Condensation, dust, salt mist, and temperature extremes can affect bearings, sensors, motors, and connectors. A system that performs well indoors may be unsuitable for prolonged outdoor missions. |
Selection reminder: Before purchase, compare the complete camera-gimbal-aircraft payload, confirm all electrical interfaces, and perform a ground test for balance, vibration, communication, and power stability.
When choosing a UAV camera gimbal, compare more than smooth footage. Durability, maintenance, and total operating cost often decide field performance. In flight testing, dust, vibration, and repeated landings reveal weaknesses quickly. A gimbal that looks impressive indoors may struggle after several wet missions.
Tip 1: Inspect the frame, motors, connectors, and protective covers. Strong materials matter, but excessive weight reduces flight time. Tip 2: Check stabilization under sudden movement. Record test footage during sharp turns and moderate wind. Small vibrations can become serious editing problems.
Tip 3: Study maintenance access. Removable dampers and reachable cables can shorten repair time. Ask how often calibration is required. Tip 4: Calculate the total operating cost, including spare parts, downtime, power use, and technician labor. The cheapest purchase may become expensive after frequent repairs. Tip 5: Review service documentation and warranty terms carefully. Reliable technical support matters when a mission schedule is tight. I once underestimated connector replacement costs, and that mistake changed my purchasing method. Not every failure is predictable. Keep a repair reserve and compare real operating data after each deployment.
The chart compares common UAV gimbal configurations using expected service life, annual maintenance time, and estimated three-year operating cost. Ruggedized and mapping-grade systems generally require fewer maintenance hours, while dual-sensor systems typically have higher operating costs because of their greater payload complexity. Costs are planning benchmarks and exclude the UAV platform, camera payload, pilot labor, and software licenses.


For those larger-sized parts, or smaller quantity runs, we have 2 independent powder coat booths and ovens. The quality, durability and affordability of today’s powder coating finishes make this the process of choice for world-class companies.
Powder coating advantages over other forms of coating are many. Materials used in the Powder coating process can be metals and non-metals that come in a multitude of thicknesses, textures, colors, etc. Another of Powder coating’s biggest advantages over conventional coatings is its ability to create finishes in many different textures. Powder Coating Booths allow us the ability to apply these advantages to large products.
Tri-State Fabricators runs a full-service conveyor line for painting. Wet painting can provide protection or decoration to many different part styles. From start to finish, every project is easier to undergo random and point-based inspection by our skilled painting team.
Advantages to our Wet Paint Line are these lines start with product prep and ends with a thorough inspection of a high quality finished product. Our ability to complete large and small projects with a superior finish and doing so in a timely and economical fashion. This passes along the savings in production to our customers. When powder coating ins not an option, our Wet Paint Line gets the job done right the first time.
When the parts get big and heavy we roll-out our custom paint racks and oversize booth. By utilizing our partnerships with all the major paint brands, we can match virtually any color with wet paint.
The advantages of having access to a Wet Paint Booth are many. Large projects of many different shapes can be loaded into the booth. The Wet Paint Booth offers an environment that is much more controlled than a typical parts painting operation.
Not only are they used because of their controlled environment, but they’re are also advantageous when it comes to applying paint to parts that are needed in industries that require specialty coatings such as medical, aerospace, etc.
Our military forces have some very high standards when it comes to the finish of their vehicles and equipment. From the first pre-treatment step to final coat, it takes a great deal of knowledge and experience to protect the men and women of our armed forces. They deserve only the best, and Tri-State Fabricators provides it.
All of our processes are closely monitored by our staff and management teams. Both of which are highly trained in the processes of metal fabrication and finishing. Tri-State Fabricators’ goal is to always fully satisfy each and every customer, including the military. We will always put a 110% into what we do.
Abrasive media blasting is an excellent way to remove old paint, rust, and increase the paint/powder adhesion. Glass beads produce a much smoother and brighter finish than angular abrasives; leaving the part clean yet without any dimensional change. Chemically inert and environmentally friendly, we can recycle our beads approximately 30 times; making them a more preferred method of metal cleaning or surface finishing.
Advantages to Glass Bead Blasting are many. Glass bead blast media is used when a project is needing rough surfaces need to become smooth for applications of coatings such as paint. It is typically used to clean paint and rust from a product surface without deforming the surface it is being used on. Overall, compared to many other blasting media, Glass Bead Blasting is a very economical choice and those savings are always passed on to our customers.
Tri-State Fabricators utilize a zinc phosphate wash to clean and etch the material to ensure the best paint adhesion possible. The unique design of our 3-stage wash system does the work like a 5-stage. From Cleaning and rinsing to conversion coating and post-treatment, Our Part Washing process is a complete service and works throughout the fabrication service and the finishing service.
Along with the previously mentioned benefits, Curing is a vital chemical reaction that leaves the product finish hard and relatively safe from mild abrasion and aggressive corrosion. This process can be done in more than one way; ambient air-dry or in curing ovens at temps that exceed 240°.
From fixing paint mistakes (someone else’s of course) to simply cleaning our paint line hooks, our burn-off oven is put to good use. After a quick burn-off, a little clean up, and a fresh coat of paint, your parts will look better than new.
Why does our Burn-Off Oven work so well? Because super heating the air around parts turns the materials into ashes. From paint and powder coatings to rubber and machining oils, high temps do the job without degrading the integrity of the part.
Masking is a vital part of producing high quality products. We have die-cut masking patterns to protect machined surfaces as well as a wide range of plugs and caps to protect threaded holes and bolts. We provide permanent and temporary masking.
Masking allows the selected sections of a product to be protected from a fabrication or finishing service. This can be with both chemicals when etching and tapes, paints when only finishing just a section of the product. Masking is great in aiding the customization process of a project.
Screen printing is a photographic process that transfers artwork onto a porous nylon screen which allows colored ink to flow through the screen and be deposited on an aluminum or plastic component. We can generally have just about any design created onto a screen for your parts.
Some of the advantages of Screen Printing are, brand recognition for your business displaying on your products, assembly instructions, product warnings/hazards, etc. Tri-State Fabricators produces Screen Printing of the highest quality so you know it’s durable.
Metal Finishing is the art of treating the exterior portion of product, often metal but can also be made of other materials, so that the surface is clean and free of any debris. Then the process of applying coats or either paint of powder coat takes place. This coating process improves the quality of the product in both appearance and resistance to wear and corrosion.
Tri-State Fabricators, Inc., understands that a project typically isn’t complete until a high-quality finish has been added to your product. This is why our painting and powder coating teams continuously inspect the products throughout the Metal Finishing process.

