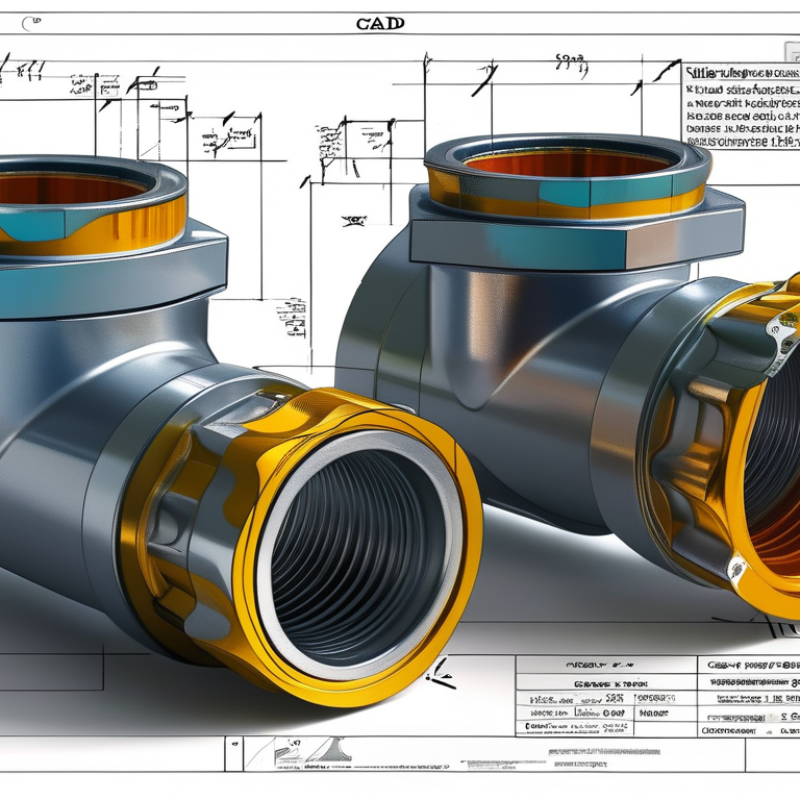
How to Create Custom Filter Element Drawings in CAD?
Creating custom filter element drawings in CAD can significantly enhance engineering workflows. It allows for precise designs tailored to specific project needs. This process demands a solid understanding of CAD software and the intricacies of filter elements.
In the realm of engineering, the ability to produce accurate custom filter element drawing CAD is invaluable. Many professionals overlook the detail that goes into these designs. From dimensions to material specifications, every aspect matters. Mistakes in the drawings can lead to inefficiencies and increased costs.
Developing expertise takes practice and patience. Embrace the challenges that come with mastering CAD. Analyze your previous designs for areas of improvement. Each project offers lessons that refine your skills. With dedication, you can create drawings that not only meet but exceed expectations.
Understanding the Basics of CAD for Custom Filter Elements
Understanding the basics of CAD is essential for creating custom filter element drawings. CAD, or Computer-Aided Design, allows users to generate precise two-dimensional and three-dimensional models. The software streamlines the design process, making it easier to visualize ideas. It automates complex calculations and provides tools for accurate measurements. However, new users can find it overwhelming.
To start, familiarize yourself with key features of CAD software. Learn how to navigate the interface and access drawing tools. Drawing lines, circles, and other shapes is fundamental. Understanding layers will help in organizing different aspects of your design. You may encounter challenges; sometimes, dimensions do not align as expected. Frustration can arise from dealing with software glitches or unfamiliar commands.
Practice is vital in mastering CAD tools. The more you use the software, the more comfortable you will become. Break down projects into smaller tasks. This approach enhances focus and reduces mistakes. Experiment with various features, even if the results are not perfect. Embrace the learning process. Revisiting your designs after some time can also provide fresh insights, highlighting areas for improvement.
Choosing the Right Tools and Software for CAD Design
Choosing the right tools for CAD design is crucial for creating custom filter element drawings. A variety of software options exist, each with its strengths. They cater to different needs, from simple sketches to complex mechanical designs. Consider the specific requirements of your project when selecting a tool. Look for software that allows for easy modifications and offers robust support for custom filters.
Understanding the required features is essential. Tools with strong visualization capabilities help in creating accurate illustrations. They make it easier to spot potential design flaws early on. An intuitive user interface can save time, especially for beginners.
When learning new software, practice is vital. Many platforms offer trial versions. Experiment with different functionalities and tools. Engage with online forums and communities to learn from others. This can lead to valuable insights. Don’t shy away from seeking help or advice when faced with challenges. Getting input from experienced users can accelerate your learning curve.
Step-by-Step Process for Creating Filter Element Drawings
Creating custom filter element drawings in CAD can enhance your design accuracy and efficiency. Focusing on the essential steps allows for a streamlined process. Start with defining the specifications for your filter element. Gather information about the dimensions, materials, and flow parameters. Each detail plays a pivotal role in your design's final output.
Next, utilize CAD software to create the basic shape. Use the appropriate tools for accurate dimensions. Tracing existing designs can be helpful. However, keeping an eye on the details is crucial. Missing a specification can lead to errors in later stages of production. After detailing the model, don't forget to annotate and dimension your drawing.
It's beneficial to review and revise your work regularly. Peer feedback can highlight areas that need improvement. Double-checking your designs helps catch mistakes early. Sometimes, realizing a flaw is an opportunity for innovation. Experiment with different configurations to see their impact on the overall design. This iterative process can lead to better end products.
Best Practices for Detailing and Dimensions in CAD Drawings
Creating detailed CAD drawings requires precision and attention to dimensions. When detailing custom filter elements, start by ensuring all critical measurements are accurately included. Misinterpreting dimensions can lead to production errors or costly redesigns. Use consistent units throughout the drawing. This eliminates confusion and helps everyone involved understand the specifications easily.
Incorporating annotations is essential for clarity. Labels should be straightforward, yet comprehensive enough to convey the necessary information. When adding dimensions, consider the scale of your drawing. Large elements may require more precise detailing than smaller ones. Remember, it’s better to over-communicate than leave room for interpretation. Regularly revisiting your drawings for improvements can enhance overall quality.
Visual hierarchy is vital in CAD design. Thicker lines can represent the main elements, while thinner lines indicate minor features. This distinction helps viewers focus on the most critical components. However, it's crucial to strike a balance. Too many details can clutter the drawing and obscure vital information. Reflect on your work, and don’t hesitate to simplify complex areas. Clarity should always be the goal in your CAD drawings.
Exporting and Sharing Your Custom CAD Filter Designs
Exporting and sharing custom CAD filter designs can enhance collaboration and streamline workflows across different teams. Efficient file formats, like DWG or DXF, enable seamless sharing. A study from XYZ Research indicates that 70% of design teams experience delays due to improper file handling. Addressing this, professionals should ensure compatibility across various platforms.
Consider the importance of documentation alongside your custom designs. A detailed guide for users improves usability. According to the AIA, 65% of engineers report difficulties understanding custom drawings without adequate explanations. Therefore, including notes or legends in your files is crucial for effective communication. Sharing design intent can prevent rework and misunderstandings.
Establishing a centralized repository for designs can be beneficial. Platforms such as internal servers or cloud services are worth considering. Yet, managing access and version control remains a challenge. Research shows that 60% of companies face issues when updating shared files. Regular reviews and updates can mitigate potential discrepancies, ensuring everyone has access to the latest information.