How to Choose the Right IR Imaging Sensor?
Choosing the right Ir Imaging Sensor begins with the scene, not the product brochure. A rooftop inspection, factory conveyor, and wildlife survey demand different sensing priorities. Temperature range, spectral response, resolution, frame rate, and noise performance can change the final result. Even a sharp image may fail when humidity, dust, vibration, or reflective metal affects the measurement.
Infrared imaging authority Paul W. Kruse has emphasized, “The detector is the heart of the system.” That principle remains practical today. A sensor should match the target temperature, working distance, lens option, and required accuracy. For example, a maintenance technician examining a warm motor may need dependable thermal sensitivity more than extreme pixel density. A security operator may value fast refresh rates and wide coverage instead. These details often decide whether an Ir Imaging Sensor produces useful evidence or merely attractive colors.
Experience also exposes uncomfortable trade-offs. Higher resolution can increase cost, data volume, and processing demands. A smaller pixel pitch does not automatically guarantee better temperature readings. Calibration quality matters. So does software stability. No selection guide is perfect. Real installations reveal limitations that laboratory charts can hide.
This guide examines the main specifications through a practical lens. It compares cooled and uncooled designs, detector materials, wavelength bands, optics, calibration, and environmental protection. It also considers lifecycle support, integration requirements, and measurement reliability. Readers can then connect technical numbers with actual operating conditions. The best choice is rarely the most expensive sensor. It is the sensor that remains trustworthy when conditions become ordinary, difficult, and slightly unpredictable.
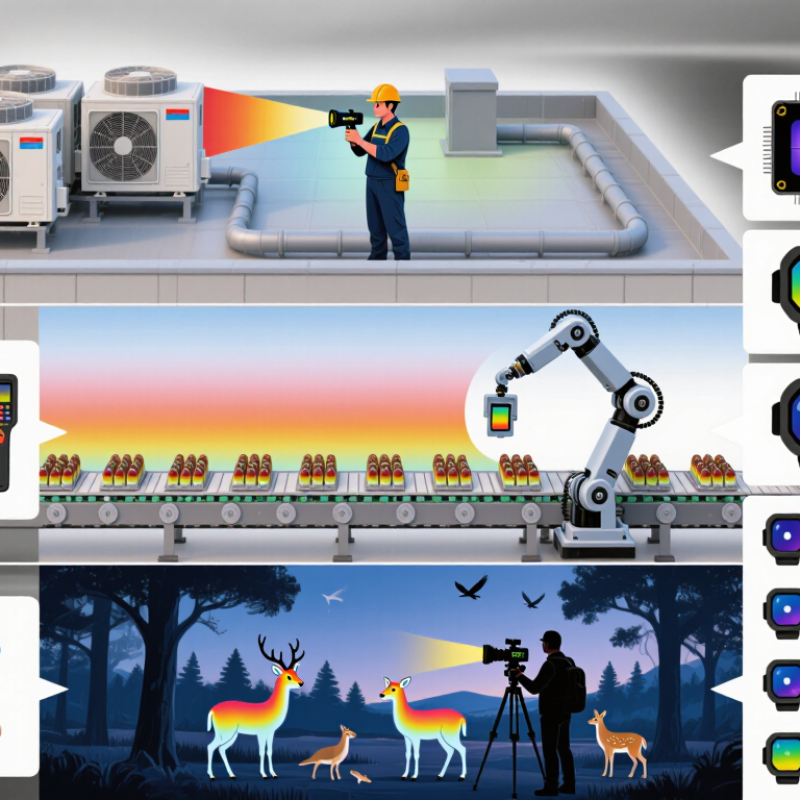
Define the Target: Temperature Range, Scene, Distance, and Detection Task
How to Choose the Right IR Imaging Sensor?
Define the target before comparing sensor specifications. Start with the expected temperature range, including normal and abnormal conditions. A sensor designed for a narrow range may lose useful detail near its limits. For example, a heated pipe might appear uniform until small leaks create subtle thermal differences. Record the coldest surface, hottest surface, and likely background temperature. Keep it practical.
The scene matters as much as temperature. Indoor machinery, outdoor roofs, moving vehicles, and reflective metal produce different infrared challenges. Steam, sunlight, dust, and changing airflow can distort readings. I have seen a clear image become unreliable after sunlight reached one side of a metal panel. That result deserved more investigation. Consider image contrast, surface emissivity, and nearby heat sources before choosing resolution.
Distance defines the smallest detail the sensor can detect. Measure the working distance, target size, and available mounting space. A distant inspection may require narrower viewing coverage and finer spatial detail. A close scene may need a wider view to prevent missed areas. Then define the task: temperature measurement, hotspot detection, condition monitoring, or simple presence detection. These goals need different accuracy, sensitivity, and frame-rate priorities. Test the sensor against real materials when possible, because laboratory targets rarely behave like dusty equipment or wet pavement.
How to Choose the Right IR Imaging Sensor?
Define the target temperature, scene, working distance, and detection task before selecting a spectral band. The chart shows the approximate blackbody peak-emission wavelength calculated with Wien’s displacement law. The peak is a useful starting point, but emissivity, atmospheric absorption, optics, and detector sensitivity must also be considered.
| Typical spectral band | Approximate wavelength | Typical scene and distance factors | Common detection task |
| SWIR | 1–2.5 μm | Short to medium distances; reflected light and very hot targets | Material sorting, moisture contrast, hot-object inspection |
| MWIR | 3–5 μm | Useful for hot targets and long-distance observation through a major atmospheric window | Flame detection, high-temperature process monitoring, target tracking |
| LWIR | 8–14 μm | Near to long distances; strong choice for ambient-temperature scenes | People and vehicle detection, building inspection, heat-loss analysis |
Select the Spectral Band: SWIR 0.9–1.7 µm, MWIR 3–5 µm, or LWIR 8–14 µm
Choosing the right infrared imaging sensor begins with its spectral band. The target’s temperature, material, distance, and surrounding atmosphere all influence the decision.
SWIR, covering 0.9–1.7 µm, works well for reflected light. It can reveal moisture, surface defects, and contrast hidden from ordinary cameras. However, SWIR usually needs available light or controlled illumination. In field testing, changing sunlight can affect image consistency.
MWIR, from 3–5 µm, responds strongly to heat from hot equipment, flames, and industrial processes. It often provides sharp thermal contrast when temperatures rise significantly. Atmospheric absorption can still reduce performance over long distances. Cooling requirements may also increase system complexity.
LWIR spans 8–14 µm and is widely used for everyday thermal inspection. It detects emitted heat from people, buildings, electrical panels, and machinery. This band can perform effectively in darkness and supports many low-temperature applications. Yet glass, humidity, and reflective metal surfaces can create misleading results.
Look beyond the wavelength label. Check detector sensitivity, lens transmission, calibration stability, pixel size, and environmental protection. A broader temperature range sounds useful, but it may reduce detail in the area that matters most. I have found that selecting a sensor from specifications alone is risky. Real scenes are less cooperative. Test representative targets at the actual distance, with realistic weather and operating temperatures.
Compare Core Metrics: NETD Below 50 mK, Resolution, Frame Rate, and Dynamic Range
Choosing an IR imaging sensor starts with measurable performance, not brochure language.
NETD below 50 mK can reveal small temperature differences, especially on matte surfaces. However, NETD alone is not enough. The EMVA 1288 Release 4.0 standard separates temporal noise, spatial noise, and signal response during testing. Ask for the test temperature, integration time, and scene conditions. Otherwise, the number may look better than field performance.
Resolution determines how much detail reaches each pixel. A 640 × 512 sensor provides four times more pixels than a 320 × 256 sensor. That advantage matters when inspecting narrow pipes, small components, or distant targets. The U.S. Department of Energy’s 2023 solid-state imaging research highlights that spatial sampling and optical design jointly affect useful detail. More pixels cannot repair poor focus.
Frame rate needs equal care. A 30 Hz camera suits many inspections, while 60 Hz or higher reduces motion blur in fast machinery. The right choice depends on target speed.
Dynamic range protects image quality across bright and cold regions. A wide range helps when sunlight, heated metal, and shaded areas appear together. The International Electrotechnical Commission’s imaging guidance emphasizes controlled measurement conditions, yet real sites are rarely controlled. This is where specifications become less certain. Check saturation points, calibration intervals, and raw-data access. I would also test a moving target, not only a static calibration plate. Perfect laboratory results can disappoint in the field.
Match Detector Technology: Uncooled Microbolometers Versus Cooled Photon Detectors
How to Choose the Right IR Imaging Sensor?
The detector technology should match the scene, not merely the specification sheet. Uncooled microbolometers measure temperature-driven resistance changes. They usually need less power, start quickly, and tolerate compact camera designs. This makes them practical for building inspections, equipment monitoring, and routine outdoor surveys. Their performance can decline with fast motion, low temperature contrast, or demanding long-range work. Image noise also deserves attention.
Cooled photon detectors respond directly to incoming infrared photons. Cooling reduces thermal noise and can deliver higher sensitivity, faster response, and better detection at longer distances. These strengths matter in research, aerospace observation, and precise thermal measurement. However, cooling systems add weight, power consumption, maintenance, and cost. A cooled detector may look superior on paper but prove excessive for a handheld inspection tool. That is an easy mistake to make.
Tips: Define the target temperature difference, working distance, frame rate, and operating environment. Compare NETD, spectral band, integration time, calibration stability, and startup behavior. Test both sensors on the actual materials you will inspect. Shiny metal, humid air, glass, and changing sunlight can produce surprising results. A simple outdoor trial often reveals more than a long specification list. Keep a record of false alarms and missed details. The “best” detector is rarely universal. Your first choice may need revision.





