How to Choose the Best Polyethylene Pipe Cutter?
Choosing the right Polyethylene Pipe Cutter is not simply about finding the sharpest blade. The correct tool must match the pipe’s outside diameter, wall thickness, material grade, and installation environment. HDPE and MDPE pipes can flex under pressure, especially in cold conditions, making poor cuts more likely. A suitable cutter should produce a square, clean edge without crushing the pipe or leaving deep scratches.
In practical installations, installers examine the cutting mechanism, handle comfort, blade durability, and adjustment range. Ratchet cutters may suit smaller diameters, while rotary or guillotine-style tools often provide better control for larger pipes. Check the manufacturer’s capacity claims carefully. They are not always equal in real conditions. A cutter rated for a specific diameter may struggle with thick-wall pipe, worn blades, or limited working space. Small details matter, such as a stable pipe rest, replaceable blades, and a locking mechanism that prevents accidental opening.
A clean cut supports reliable joining, whether the connection uses compression fittings, electrofusion, or another approved method. However, no single cutter is best for every project. Budget, cutting frequency, pipe access, and required finish all influence the decision. Before comparing products, verify the pipe specifications and follow the tool manufacturer’s instructions. Wear suitable eye protection and secure the pipe firmly. Even experienced workers can rush this step. That mistake can create an uneven end, wasted material, or a connection that needs rework. A thoughtful comparison leads to safer, more consistent results.
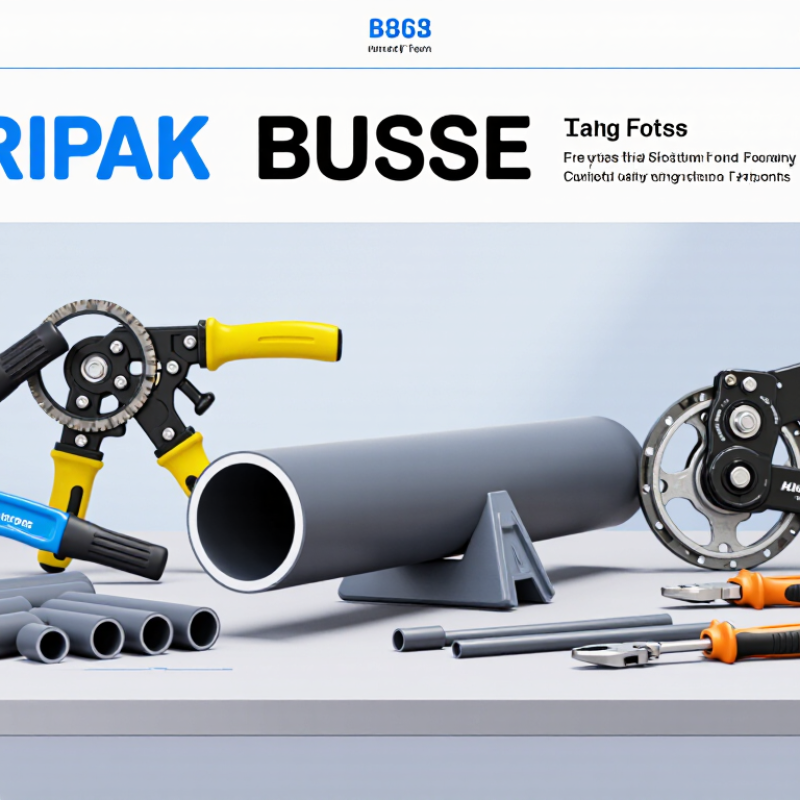
Types of Polyethylene Pipe Cutters and Their Cutting Methods
Choosing a polyethylene pipe cutter depends on pipe diameter, wall thickness, access, and the required cut quality. Different cutters use different methods, and each method changes the pipe slightly.
Hand ratchet cutters use a sharpened blade that closes progressively around the pipe. They work well on smaller diameters and produce quick, square cuts. Use steady pressure. A rushed squeeze can flatten the pipe or leave a stepped edge. Keep the blade sharp and inspect it before cutting.
Rotary cutters use a cutting wheel that travels around the pipe. They are useful where space is limited, but the operator must maintain even pressure. Excessive force may score the surface instead of cutting cleanly. Guillotine cutters use a straight blade driven through the pipe, often with a support frame. They suit larger pipes and help control deformation. Cut edges should be smooth.
For thick-wall or large-diameter polyethylene pipe, hydraulic or powered cutters reduce physical effort. Their cutting method is controlled and repeatable, but setup errors can still create angled ends. Support the pipe firmly, mark the cut line, and remove dirt before cutting. Temperature also matters; very cold polyethylene may become less flexible and more vulnerable to cracking.
A good cutter should match the pipe, not just the budget. I still recheck alignment after every cut. No method is perfect, especially on uneven ground or crowded work areas. The final inspection should look for burrs, flattening, surface damage, and a truly square end.
How to Choose the Best Polyethylene Pipe Cutter?
Different polyethylene pipe cutters use different cutting methods and are suited to different outside-diameter ranges. The values below represent common working capacities for general tool types; exact limits vary by tool design and pipe wall thickness.
Key Factors for Choosing the Right Pipe Cutter
How to Choose the Best Polyethylene Pipe Cutter?
Key Factors for Choosing the Right Pipe Cutter
Choosing a polyethylene pipe cutter starts with the pipe itself. Measure the outside diameter and wall thickness before comparing tools. A cutter designed for small tubing may struggle with a 63-millimeter pipe. It may also leave a crushed edge.
In field work, I check blade geometry, cutting capacity, and handle control. A sharp, curved blade usually supports a cleaner cut on flexible polyethylene. Ratcheting handles can reduce hand strain during repeated cuts. Look for a strong frame that stays aligned under pressure. A loose mechanism is frustrating.
Cut quality matters.
The cut should be square, smooth, and free from heavy burrs. Uneven edges can complicate couplings and create extra preparation work. I also inspect the locking feature, grip texture, and blade replacement process. Mud, moisture, and cold weather can expose weak construction quickly. A tool that feels comfortable indoors may perform poorly beside a wet trench.
Check the rated diameter range carefully. Do not rely only on appearance or low weight. Read the technical specifications and follow the cutting procedure recommended for the pipe material. Some cutters need more force as the pipe becomes thicker or colder. I once selected a compact tool for convenience, then found its narrow grip tiring after several cuts. That mistake changed my preference toward balanced handles and accessible adjustment parts. Reliability often comes from small details, not impressive packaging.
Maintenance Tips for Long-Lasting Cutter Performance
How to Choose the Best Polyethylene Pipe Cutter?
Maintenance Tips for Long-Lasting Cutter Performance
A polyethylene pipe cutter works best when its blade stays sharp, clean, and properly aligned. After each job, remove plastic shavings with a dry brush. Small fragments can collect around the pivot and increase cutting resistance. Wipe metal surfaces with a lightly oiled cloth to reduce surface corrosion. Avoid soaking the tool, especially near springs or sealed joints.
Inspect the blade before every shift. Look for chips, rounded edges, or uneven wear. A dull blade can crush the pipe instead of producing a clean, square cut. Check the handle movement and tighten loose fasteners carefully. Do not overtighten them. Excess pressure may restrict the pivot and make the cutter tiring to use.
Store the cutter in a dry case, away from cement dust and direct sunlight. Keep the blade closed when the tool is not in use. For adjustable models, confirm that the guide remains centered before cutting different pipe sizes. I once ignored a slightly loose pivot, and the next cuts wandered by several millimeters. That mistake was avoidable. Replacing worn parts early usually costs less than correcting poor joints later. Still, maintenance schedules should reflect actual use, not guesswork. A cutter used daily needs more frequent inspection than one kept for occasional repairs. Always follow the tool’s service instructions and wear suitable hand and eye protection.
How to Choose the Best Polyethylene Pipe Cutter? - Maintenance Tips for Long-Lasting Cutter Performance | Cutter Type | Best Suited For | Key Selection Checks | Maintenance Tips | Cutting and Safety Notes |
| Ratchet cutter | Manual cutting of many small- to medium-diameter polyethylene (PE) pipes, especially where portability is important. | Confirm the stated pipe diameter and wall-thickness capacity. Check that the frame is rigid, the blade is replaceable, and the ratchet advances smoothly. | Remove PE shavings after use. Clean and dry the blade and moving joints; lubricate the pivot or ratchet only as directed by the tool maker. Replace a nicked or blunt blade. | Keep the pipe square to the blade and support it against movement. Do not force a cutter beyond its rated capacity, as this can deform the pipe or damage the tool. |
| Scissor-style cutter | Quick, light-duty cuts on smaller PE tubing and pipe within the tool’s rated capacity. | Look for a sharp, corrosion-resistant blade, a secure latch, comfortable handles, and a clear capacity marking. Check that the blade closes evenly against the anvil. | Wipe away dirt and moisture, inspect the blade edge and return spring, and keep the locking mechanism working freely. Store the cutter closed or latched. | Useful for accessible cuts, but the pipe must be fully supported. A dull blade or an oversized pipe may cause crushing or an angled cut. |
| Rotary wheel cutter | Controlled cuts on PE pipe when the selected cutter is specifically designed and rated for plastic pipe. | Verify compatibility with PE and the pipe’s outside diameter. Check wheel material, wheel replacement availability, and whether the frame can maintain alignment around the pipe. | Clean the wheel and rollers after each job. Inspect for chips, flat spots, or wobble; replace a damaged wheel and keep the rollers turning freely. | Follow the tool’s instructions for tightening and rotation. Excessive pressure can distort plastic pipe; use a cutter intended for the material rather than assuming a metal-pipe tool is suitable. |
| Fine-tooth hand saw with a guide | Larger-diameter PE pipe or situations where a dedicated hand cutter cannot accommodate the pipe size. | Choose a blade suitable for plastic and a guide or square to help keep the cut perpendicular. Ensure the work area allows the saw to move without binding. | Remove plastic residue from the teeth, inspect the blade for damage, and replace it when it becomes dull. Keep the saw dry and protected during storage. | Secure the pipe without crushing it. Saw steadily, then remove burrs or loose shavings as appropriate for the joining method and installation instructions. |
| Powered pipe-cutting tool | Repeated cutting or larger pipe sizes when the tool is rated for the specific PE pipe dimensions and job conditions. | Check the manufacturer’s capacity, compatible blade or cutting head, power source, guarding, and suitability for the work environment. | Disconnect power before cleaning or servicing. Clear debris from moving parts, inspect guards and cutting components, and follow the tool maker’s inspection and replacement schedule. | Use required personal protective equipment and secure the pipe. Keep hands clear of the cutting area and follow the tool instructions to avoid heat buildup, pipe distortion, or an uneven cut. |
| Selection reminder: Cutter capacity and suitable pipe dimensions vary by model. Check the tool specifications against the pipe’s outside diameter and wall thickness, and follow the pipe-system manufacturer’s cutting and joining instructions. |





