Actuator 24V 7 Tips How Do You Choose the Right One?
Choosing an Actuator 24v is not simply a matter of matching voltage. The correct choice depends on force, stroke length, speed, duty cycle, mounting space, noise, and environmental exposure. A compact workshop mechanism may need 500 newtons, while an outdoor hatch could require twice that capacity. Heat, dust, water, and repeated starts can quietly shorten an actuator’s service life.
According to David Chaffee, a senior applications engineer in linear motion systems, “Voltage starts the conversation, but the load profile finishes it.” This principle deserves attention. A 24V supply may be available, yet the actuator can still fail when current demand exceeds the controller’s limit. The seven practical tips in this guide examine load calculations, stroke selection, operating speed, duty cycle, protection ratings, feedback options, and installation alignment.
Measure twice.
Check the real load, not the estimated load. Friction, leverage, side loading, and sudden impacts often change the result. I have seen buyers choose a powerful model, then discover that poor alignment creates vibration and premature wear. That mistake is easy to repeat. It also shows why a datasheet should support every decision.
A reliable Actuator 24v should fit the complete system, including wiring, switches, control boards, and emergency stopping needs. Compare manufacturer test conditions carefully. “Maximum force” may describe a brief peak, not continuous operation. The right solution is rarely the cheapest unit or the fastest one. It is the actuator that performs steadily, safely, and predictably in the actual machine.
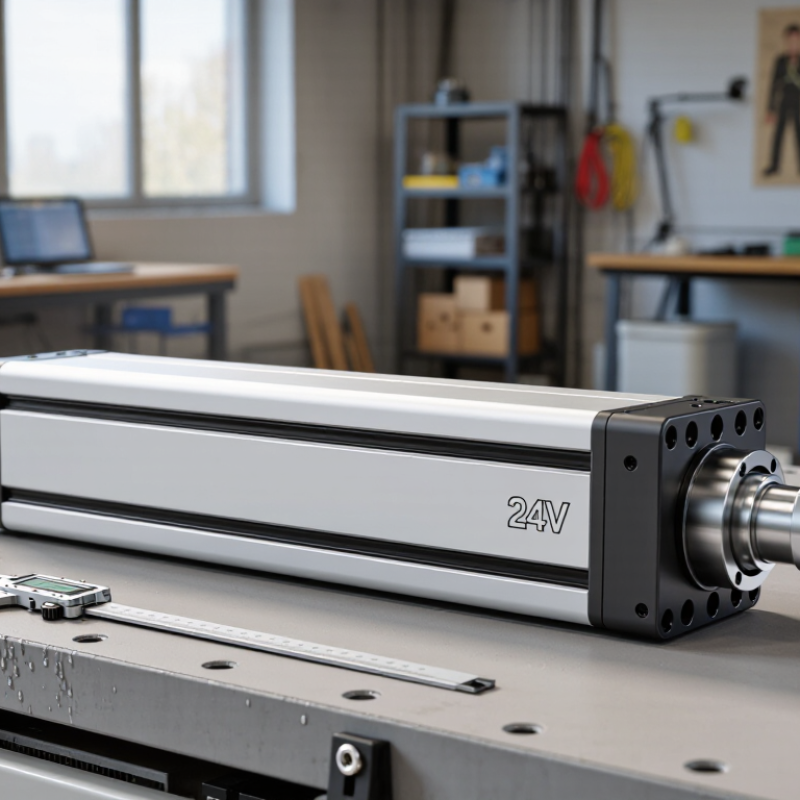
Understanding 24V Actuators and Their Main Applications
Actuator 24V: 7 Tips How Do You Choose the Right One?
Understanding 24V Actuators and Their Main Applications
A 24V actuator converts electrical energy into controlled linear or rotary movement. It is common in adjustable beds, office furniture, medical equipment, ventilation systems, and light industrial machinery. Compared with lower-voltage models, 24V units often provide stable performance over longer cable distances. They also suit many existing control systems. Before selecting one, check the required force, stroke length, speed, duty cycle, and mounting space. A compact actuator may fit neatly, but limited force can reduce service life.
Tip 1: Match the actuator to the real load, not an estimated load. Add a safety margin for friction, uneven weight, and repeated movement.
Tip 2: Confirm the power supply can deliver enough current during startup. Voltage alone is not enough.
Tip 3: Select protection for the environment. Dust, moisture, heat, and cleaning chemicals can affect seals, connectors, and internal switches.
Tip 4: Check feedback options, such as limit switches or position sensors, when accurate movement matters.
In practical installations, noise and maintenance are easy to overlook. A quiet actuator may be better for patient rooms, while a stronger housing may suit workshop equipment. I once treated speed as the main priority, then found that frequent cycling caused unwanted heat. That choice needed more thought.
Tip 5: Compare duty cycle and cooling time.
Tip 6: Inspect mounting points before ordering.
Tip 7: Test the actuator with the complete controller, load, and wiring, because separate components can behave differently together.
Matching Actuator Force, Stroke Length, and Speed to Your Needs
Choosing a 24V actuator starts with the load, not the voltage. Measure the real force, stroke length, and required speed. A 600N vertical load may need at least 900N capacity with a 1.5 safety factor. Friction, misalignment, and sudden starts can increase demand. Small details matter.
Stroke must match the machine’s actual movement. A 300mm stroke may seem suitable, but check clearance at both endpoints. Speed also affects performance. If the actuator must travel 300mm in 15 seconds, its minimum speed is 20mm/s. Add time for acceleration and settling. Do not size from catalog maximums alone. They often describe ideal conditions.
The 24V supply must handle running and peak current. Long cables can create voltage drops, especially under heavy loads. The U.S. Department of Energy reports that motor-driven systems consume about 23% of total U.S. electricity, so efficiency deserves attention. Select a unit with suitable duty cycle, thermal protection, and feedback. ISO 12100 also supports risk-based machine design, including foreseeable overloads. My first sizing calculation is rarely perfect. Test it with the real load. Listen for stalls, heat, and uneven motion. A slower actuator may be safer and more durable. A faster one may only waste energy. Check twice.
Actuator 24V: 7 Tips for Choosing the Right One
Matching actuator force, stroke length, and speed to typical application requirements
The chart shows representative 24 V actuator design targets for common applications. Required force should account for the load, mounting geometry, friction, and a suitable safety margin. Stroke length must cover the complete mechanical travel, while actuator speed should match the desired operating time. Final sizing should always be verified against the actual load and duty cycle.
Choosing the Right 24V Power Supply and Control Method
Choosing the right 24V power supply starts with the actuator’s real operating profile, not its label. Check peak current, standby current, stroke speed, load, and duty cycle. A supply rated only for average current may trip during startup. Leave at least 20% capacity for inrush and aging. Measure voltage at the actuator terminals, not only at the supply.
The International Energy Agency estimates that electric motor-driven systems consume about 50% of global electricity. That figure supports careful control selection. Use relay control for simple extend-and-retract movement. Choose a programmable controller when position feedback, soft starts, or synchronized motion matters. Pulse-width control can regulate speed, but poor tuning may create heat and electrical noise. IEC 60204-1 highlights protection, emergency functions, and control-circuit reliability, so fuse the 24V branch separately.
Short cables help.
For long cable runs, calculate voltage drop before ordering. A 24V system has less tolerance than a higher-voltage system, so small losses become significant. Add a flyback diode or suitable suppression when switching inductive loads, if the actuator design allows it. In field installations, I have seen “adequate” supplies fail because two actuators started together. That mistake is easy to repeat. Recheck simultaneous current, ambient temperature, enclosure ventilation, and controller output limits. A clean specification sheet can still hide an unreliable installation.
Comparing Safety Features, Durability, Cost, and Manufacturer Support
Choosing a 24V actuator requires more than checking force and stroke length. Safety features should match the real working environment. Look for overload protection, limit switches, thermal control, and stable emergency stopping. These details help prevent overheating, unexpected movement, and mechanical damage. Confirm the actuator’s ingress protection rating when dust, moisture, or cleaning spray is present.
Tip 1: Test the actuator under realistic load conditions. A quiet bench test proves very little. Check movement speed, noise, heat, and repeated cycling. Durability depends on duty cycle, housing quality, gears, seals, and mounting alignment. Even a strong actuator can fail early when the rod is exposed to side pressure. A neat specification sheet can still mislead.
Cost also needs a wider view. A cheaper unit may require more frequent replacement, extra wiring protection, or difficult maintenance. Compare the purchase price with energy use, expected cycles, spare parts, warranty coverage, and installation time. Manufacturer support matters when wiring diagrams are unclear or a replacement part is needed quickly. Ask about technical response times, documentation, testing records, and after-sales service. I would not pretend every supplier gives equal support. Verify it before ordering.
Tip 2: Request a sample, inspect its connectors, and ask for failure data. Small details often reveal the difference between a reliable actuator and an expensive mistake.





